Table of Contents
How to Make Perfect Carmel Candy at Home
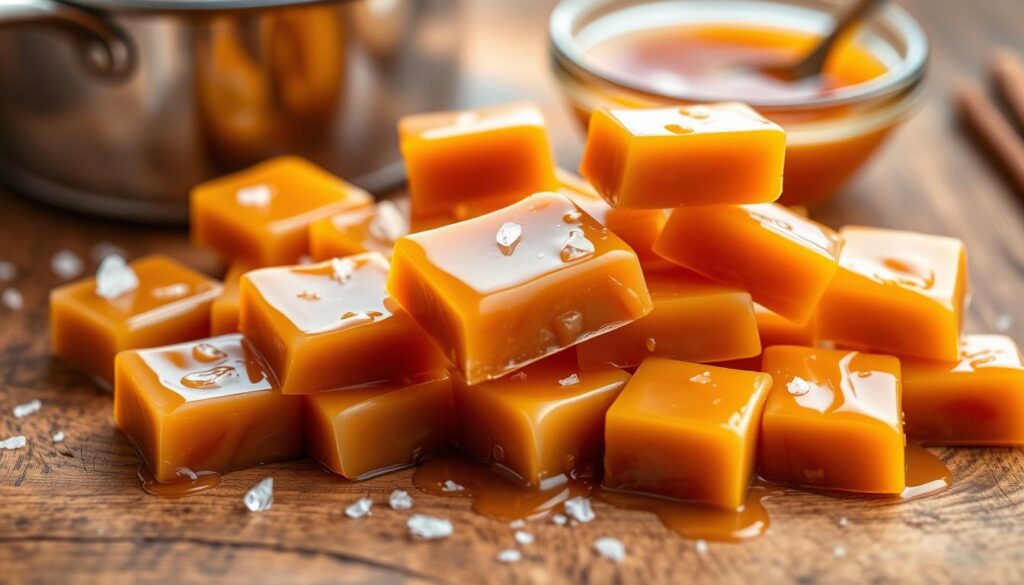
I love making homemade carmel candy. It’s so rewarding to see sugar turn into a golden, velvety treat. The smell of vanilla and butter fills the kitchen, making it cozy —a perfect dessert idea after a satisfying dinner.
Don’t worry if making caramel seems hard. With a few tricks and the right stuff, you can make it at home. I’ll show you how to make perfect carmel candy every time.

Key Takeaways
- Homemade carmel candy is easier to make than you might think.
- Using the right ingredients, such as heavy cream and salted butter, is crucial for achieving the perfect texture and flavor.
- Temperature control is key when cooking the caramel syrup, as you’ll need to reach specific temperatures for the best results.
- Investing in a good candy thermometer will help you monitor the temperature accurately and consistently.
- Proper cooling and cutting techniques are essential for producing neat, uniform carmel candies.
Understanding the Science Behind Caramel Making
Making perfect carmel candy at home is more than just a recipe. It’s about understanding caramel science. This science is all about the balance between sugar crystallization and temperature control.
Sugar Crystallization Process
When sugar syrup is cooked, it changes into caramel. This change breaks down sucrose into glucose and fructose. These then form sugar crystals. It’s important to control how fast these crystals form for the right caramel texture.
Temperature Control Basics
The temperature for making caramel is key, between 250°F and 320°F. Getting to the perfect soft-ball stage is crucial. This stage makes the caramel soft but firm. Keeping an eye on the temperature is essential for making great caramels at home.
Role of Different Ingredients
Ingredients in caramel recipes are very important. For example, the amount of cream changes the caramel’s texture. Light corn syrup keeps the caramel smooth and creamy. Knowing how each ingredient works is important for making great caramel.

Learning about caramel science helps home cooks make better treats. They can make homemade caramels that everyone will love.
Essential Equipment for Making Carmel Candy
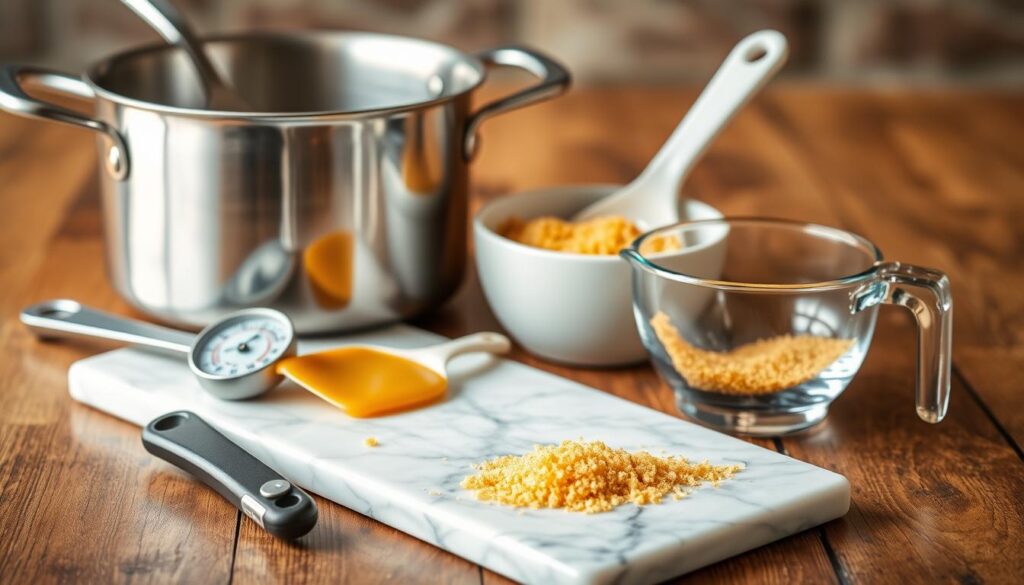
To make delicious carmel candy at home, you need a few important tools. A candy thermometer is key for checking the temperature. It helps ensure the caramel turns out right.
A heavy-bottomed saucepan is also crucial. It should be 2-quart for the cream and 4-quart for the sugar syrup. This helps the heat spread evenly and prevents burning.
You’ll also need a wooden spoon or silicone spatula for stirring. A pastry brush is useful for removing sugar crystals from the pan. And, a lined baking dish is great for cooling the caramel.
Having the right tools and controlling the temperature is essential. With these, you can make perfect carmel candy in your kitchen. You’ll enjoy making and eating it.

Remember, making caramel takes patience and attention to detail. With the right tools and practice, you’ll make caramel that everyone will love. Your friends and family will ask for more.
Key Ingredients for Perfect Caramels
Making delicious homemade caramels needs careful picking of ingredients. You’ll need granulated sugar, heavy cream, butter, and a bit of corn syrup or a good substitute.
Types of Sugar and Substitutes
Granulated white sugar is the base of caramel, giving it sweetness. Brown sugar adds a richer flavor with its molasses taste. For a lighter caramel, try light corn syrup or golden syrup, but the texture might change a bit.
Choosing the Right Cream
The cream you pick is key for caramel’s texture and feel. Choose heavy cream or heavy whipping cream with 36-40% butterfat. This fat content makes the caramel smooth and creamy.
Butter Selection Tips
Butter is vital for caramels’ rich taste. Use salted butter for a salted caramel or add flaky sea salt to unsalted butter. The butter’s unsaturated fat improves the caramel’s texture.
Choosing the best sugar, cream, and butter makes perfect homemade caramels. The quality of your ingredients greatly affects the final taste.
Safety Precautions When Making Caramel
When making carmel candy at home, safety is key. The high temperatures can cause burns. So, always wear oven mitts and be careful with steam and bubbling.
Keep children and pets away from the cooking area. It’s also wise to have a bowl of ice water nearby for burns. Never leave the caramel alone, as it can quickly burn and cause a fire.
- Wear oven mitts when handling hot pans and utensils
- Beware of steam and bubbling when adding cream to hot sugar syrup
- Keep children and pets away from the cooking area
- Have a bowl of ice water nearby in case of accidental burns
- Never leave the caramel unattended while cooking
By following these caramel safety tips and burn prevention measures, you can have a safe and successful caramel-making experience.
Preparing Your Workspace and Materials
Starting with the right setup is key to making great caramel. First, line your cooling pan with parchment paper and grease it well. This prevents the caramel from sticking. Next, measure all your ingredients and keep them ready in your workspace.
This makes the cooking process smoother. It lets you focus on making the perfect carmel candy.
Pan Preparation Methods
Choose a pan that’s big enough for the caramel to expand. A larger pan helps avoid spills during cooking. Grease the pan’s sides and bottom with butter or spray for easy caramel removal.
Measuring and Organization Tips
- Measure all your ingredients, including sugar, cream, butter, and any flavorings, before starting the cooking process.
- Keep all your tools and equipment, such as a candy thermometer, spatula, and parchment paper, within easy reach.
- Organize your workspace to minimize clutter and maintain a clean, efficient environment for caramel preparation.
Spending time on preparation will help you make delicious homemade carmel candy.
Step-by-Step Cooking Process
Making perfect carmel candy at home is fun and easy. First, get your ingredients and tools ready. The caramel-making process has two main parts: cooking the sugar syrup and adding the cream.
Start by mixing sugar, corn syrup, and water in a heavy saucepan. Heat it on medium-high, stirring now and then. When it hits 320°F, take it off the heat.
- Pour in the heavy cream and butter slowly, stirring all the time to avoid lumps.
- Put the pan back on the heat and stir until it’s 240°F to 250°F, or soft-ball stage.
- Remove it from the heat and mix in the vanilla extract well.
Finally, pour the caramel into a ready pan and spread it out. Let it cool at room temperature for about 20 minutes. Then, cut it into small pieces.
| Cooking Time | Temperature Range | Yield | Calories per Serving |
|---|---|---|---|
| 40 minutes (10 min prep, 30 min cooking, 20 min cooling) | 320°F for sugar syrup, 240-250°F for soft-ball stage | 24 servings | 228 kcal |
By following these steps and watching the temperature and time, you’ll make tasty caramel candies. They’re sure to delight everyone.
How to Achieve the Perfect Caramel Consistency
Making perfect carmel candy needs careful attention to temperature. Use a candy thermometer and the ice water test to get the right consistency.
Testing Methods for Doneness
The soft ball stage is between 238°F to 240°F for soft caramels. A candy thermometer helps keep an eye on the temperature. Also, try the ice water test by dropping caramel into cold water. If it forms a soft ball, your caramel is ready.
Troubleshooting Common Issues
- If your caramel is too soft, cook it more until it hits the right temperature.
- Too hard caramel? Lower the cooking temperature to get the soft ball stage.
- Graininess means sugar crystals, and burning is from too high heat. Watch temperature and time to fix these caramel troubleshooting problems.
Mastering temperature control and using the right tests will help you make smooth caramel candies every time.
Flavoring Variations and Add-ins
Make your homemade carmel candy even better by trying different flavors and add-ins. You can go beyond the usual buttery taste. Explore a world of flavored caramels that will excite your taste buds.
Try adding vanilla extract for a warm, sweet scent. Or add a bit of sea salt to balance the sweetness. For a spicy kick, mix in cinnamon or ginger.
Chocolate fans will love chocolate caramels. Just melt chocolate into the caramel. It creates a smooth, sweet treat.
- Chopped nuts, like pecans or almonds, add a nice crunch.
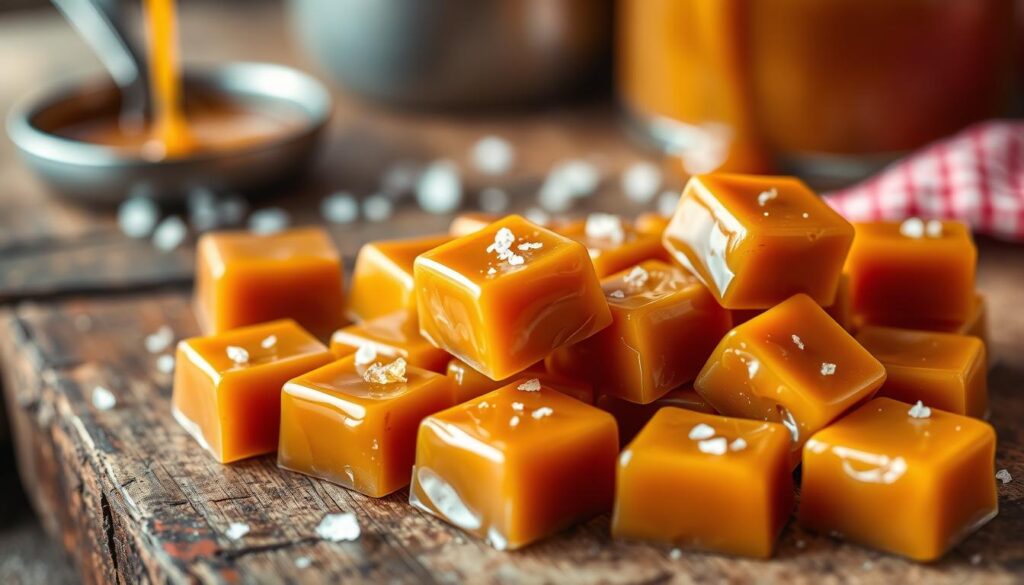
- Make salted caramels by adding more salt or sprinkling sea salt on top.
- Try mixing in coffee or espresso for a unique twist.
| Flavor Variation | Total Time | Servings |
|---|---|---|
| Chocolate Salted Caramel Bars | 70 mins | 2-1/2 dozen |
| Caramel Whiskey Cookies | 40 mins | 4 dozen |
| Chocolate Caramel Bars | 40 mins | 3 dozen |
| Coffee and Espresso Cheesecake | No data | 12 servings |
| Gooey Chocolate Caramel Bars | 45 mins | about 4-1/2 dozen |
There are countless ways to make carmel variations and caramel add-ins. You can make unique candies that everyone will love. Get creative and enjoy making delicious caramel treats!
Proper Cooling and Setting Techniques
Getting the perfect caramel texture starts with cooling and setting it right. Letting your caramels cool and set is key in making them.
Temperature Control During Cooling
After cooking your caramel, let it cool at room temperature for 2 hours or overnight. This slow cooling helps the caramel set right. To cut them easily, chill them in the fridge. But, let them warm up a bit before cutting to avoid cracking.
Timing and Environment Factors
- Don’t move or disturb the caramel while it’s setting for a smooth texture.
- The cooling area should be cool and dry to prevent moisture, which can change the caramel’s consistency.
- Proper cooling and setting are crucial for the right caramel texture and caramel cooling process.
By using these setting caramels methods, you’ll make caramel candies that are perfect and delicious.
Cutting and Wrapping Your Caramels
Once your homemade caramels have cooled completely, it’s time to cut and wrap them. This step is key for the perfect look and feel of your treats.
Start by cutting the caramels into shapes like squares, rectangles, or bite-sized pieces. Use a sharp knife or bench scraper. Dip the blade in hot water and wipe it dry between cuts. This keeps the caramel from sticking and makes clean cuts.
- Cut the caramel into your preferred shapes and sizes, using a sharp knife or bench scraper.
- Dip the blade in hot water and wipe it dry between cuts to prevent the caramel from sticking.
- Wrap each piece individually in wax paper or pre-cut candy wrappers, twisting the ends to seal.
- Proper wrapping helps prevent the cutting caramels from sticking together and makes for easy wrapping homemade caramels and caramel storage.
Wrapping your cutting caramels in wax paper or candy wrappers keeps them fresh. It also makes them easy to store or give as gifts. Twist the ends to seal each piece, so they don’t stick together. This step is crucial for keeping your carmel candies perfect.
| Preparation Time | Servings | Cooling Time | Total Time |
|---|---|---|---|
| 6 minutes | 40 pieces | 30 minutes | 40 minutes |
Now that your caramels are cut and wrapped, you’re ready to enjoy them or share them. Whether you keep them for yourself or give them as gifts, these homemade cutting caramels will surely impress.
Storage Tips and Shelf Life
Keeping your caramels in the right place is key to keeping them tasty and smooth. For a short time, store them at room temperature in a sealed container for up to 2 weeks. To make them last longer, put them in the fridge for a month or freeze for 3 months. Let them warm up to room temperature before eating for the best taste.
When you’re saving homemade candy like caramels, keep them away from heat and moisture. This stops them from melting or sticking. Store-bought caramel sauces or candies can last months if kept in a cool, dry spot. Homemade caramel can stay good for a month in the fridge or up to a year in the freezer.
By following these easy storage tips, your homemade caramels will stay delicious for weeks or months. This lets you enjoy the tasty fruits of your labor for a long time.

