Table of Contents
How to Make a Heart Shaped Cake: Easy Step-by-Step Guide
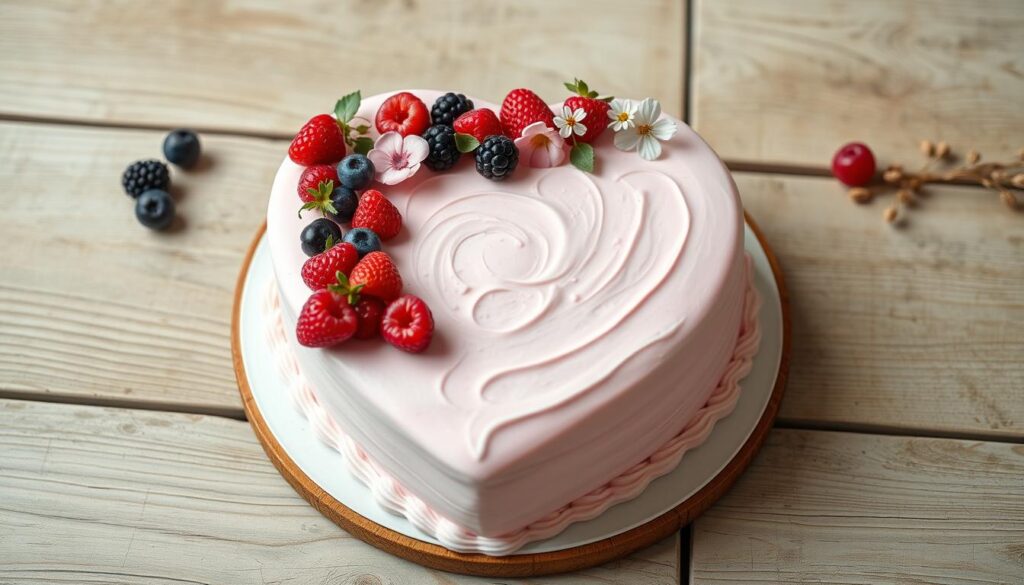
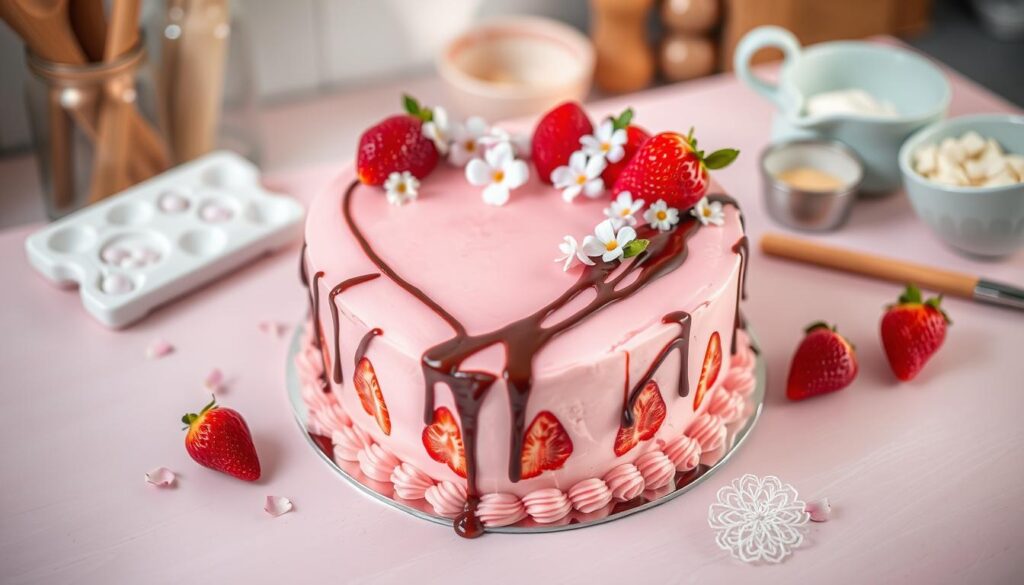
The soft glow of candlelight makes the heart shaped cake shine. It’s a symbol of love and care. This dessert, with its chocolate layers and creamy frosting, shows your love. It’s perfect for Valentine’s Day, anniversaries, or any special day.
Making a heart shaped cake from scratch might seem hard. But with the right tools and techniques, it’s easy. You can turn round and square pans into a beautiful, unique cake. No need for special tins anymore.

Key Takeaways
- Bake a heart shaped cake using basic round and square pans without any specialty equipment.
- Combine chocolate cake layers with creamy vanilla buttercream frosting for a delicious and visually stunning dessert.
- Ideal for Valentine’s Day, anniversaries, and other special occasions to express your love and affection.
- Detailed step-by-step instructions and tips for perfectly shaping, baking, and decorating your heart shaped cake.
- Enjoy the satisfaction of crafting a unique and personalized cake that will impress your loved ones.
Introduction to Heart Shaped Cake Making
Heart shaped cakes are a favorite for special occasion cake celebrations. They’re perfect for Valentine’s Day, anniversaries, and romantic events. These cakes symbolize love and offer a chance to get creative. Plus, you don’t need special pans to make a beautiful DIY heart cake.
Why Heart Shaped Cakes Are Perfect for Special Occasions
Heart shaped cakes are timeless and perfect for special occasion cake celebrations. They’re great for Valentine’s Day, anniversaries, or romantic birthdays. These cakes send a heartfelt message and add elegance to any event. Their unique shape makes them a standout centerpiece that everyone will admire.
Benefits of Making a Heart Cake Without Special Pans
- Cost-effective: Skipping special pans means you can make a DIY heart cake without spending extra.
- Versatile: Basic pans let you try different cake flavors and fillings. You can make the special occasion cake just how you like it.
- Creativity: Shaping the cake yourself lets you get creative. You can make the DIY heart cake truly unique.
Let your creativity shine and impress your loved ones with a special occasion cake you made yourself. Prepare to bake a memorable DIY heart cake that will be unforgettable.

Essential Tools and Ingredients
Baking a heart shaped cake needs some key tools and top-notch ingredients. Let’s look at what you need to make a delicious heart shaped cake that will wow your loved ones.
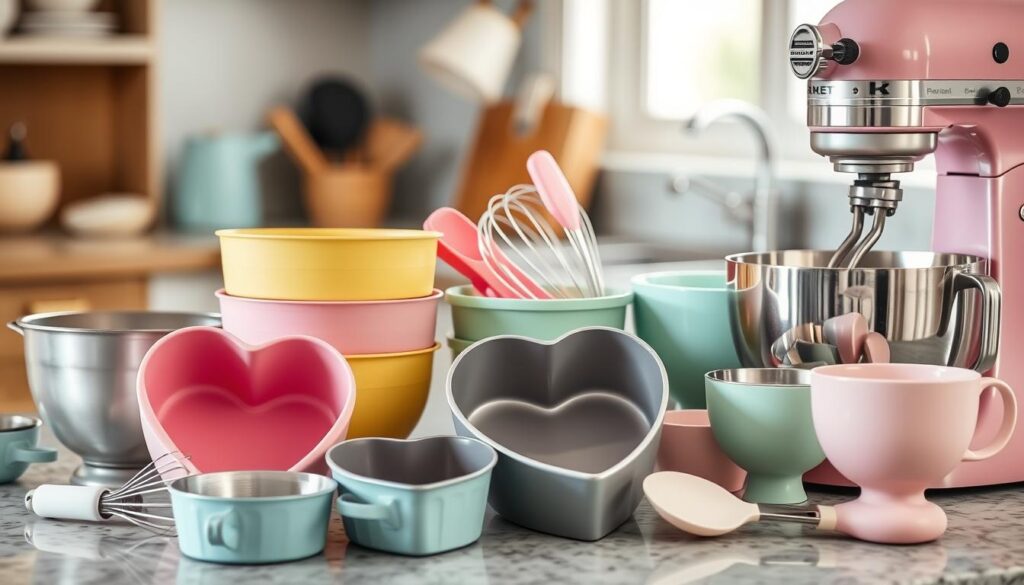
Required Baking Equipment
- 9-inch square and round cake pans for shaping the heart
- Mixing bowls in various sizes
- An electric stand mixer or hand mixer for efficiently blending the cake batter
- Offset spatula and icing smoother for frosting the cake
- Piping bags and a variety of piping tips for decorative touches
- Serrated knife and X-Acto knife for precision cutting and shaping
- Cake turntable for easy assembly and frosting application
Key Ingredients for the Perfect Cake
The quality of your ingredients is crucial for a great heart shaped cake. Here are some must-haves:
- All-purpose flour for structure
- Granulated sugar for sweetness
- Cocoa powder for a rich, chocolatey flavor
- Butter and eggs for a moist, tender crumb
- Buttermilk for a tangy, balanced taste
Types of Frosting Options
The frosting makes your heart shaped cake truly special. Here are some favorites:
- Vanilla Buttercream – A classic, creamy option that complements the cake’s flavors
- Chocolate Ganache – A rich, glossy frosting that adds a decadent touch
- Cream Cheese Frosting – A tangy, smooth frosting that pairs well with chocolate cakes

“The key to a perfect heart shaped cake is having the right tools and high-quality ingredients at your fingertips.”
Preparing Your Cake Batter
Get ready to make a delicious homemade chocolate cake batter! First, mix the dry ingredients – sugar, chocolate cake batter, cocoa powder, baking soda, and salt – in a big bowl. Whisk them until they’re well mixed.
Then, get the wet ingredients ready – melted butter, oil, coffee, eggs, buttermilk, and vanilla. Mix these in another bowl until they’re smooth. Slowly add the wet ingredients to the dry ones. Mix until the homemade cake mix is smooth and without lumps.
- Combine the dry ingredients (sugar, flour, cocoa powder, baking soda, salt) in a large bowl.
- In a separate bowl, mix the wet ingredients (melted butter, oil, coffee, eggs, buttermilk, vanilla).
- Gradually add the wet ingredients to the dry ingredients and mix until a smooth, lump-free batter forms.
- Evenly divide the chocolate cake batter between your prepared pans, making sure to fill them no more than two-thirds full.
With the batter ready, you’re one step closer to baking a delightful heart shaped cake. Make sure to divide the batter evenly for consistent results. Now, let’s move on to shaping the heart!
“Baking a cake from scratch can be a labor of love, but the end result is always worth it. The homemade chocolate cake batter provides a rich, decadent base for your heart-shaped masterpiece.”
Creating the Heart Shape Using Basic Pans
Creating a heart shaped cake is easy without special tools. Just use basic pans and some simple techniques. You’ll turn ordinary cake layers into a beautiful heart shape.
Square and Round Pan Technique
Bake your cake in a square and a round pan. Let them cool completely. Then, cut the round cake in half with a sharp knife.
Place the square cake on a surface like a diamond. Put the two half-moon round cakes on top. They should form a heart shape.
Tips for Perfect Cutting and Shaping
- Make sure your cakes are cool before cutting. Warm cakes crumble and have uneven edges.
- Use a serrated knife for clean cuts. Saw gently to avoid tearing the cake.
- Trim uneven edges for a symmetrical heart shape.
- Be gentle with the cake layers. They can break easily after cutting.
- learn more
With practice and care, you can make a stunning heart-shaped cake. Just use a square and round pan. This method shows off your baking talent and delights your loved ones.
Baking Tips for Even Results
Getting your heart shaped cake to bake evenly is key for a great look and taste. Here are some easy tips to help you:
- Preheat your oven to 350°F (175°C) before starting. This ensures the cake bakes evenly right from the start.
- Grease and flour your cake pans well, or use parchment paper on the bottom. This stops the cake from sticking and makes it easy to take out.
- Bake the cake for 28-30 minutes, until a toothpick in the center comes out clean. Don’t overbake, as it can make the cake dry and crumbly.
- Let the cakes rest in the pans for 10 minutes before moving them to a wire rack to cool. This keeps the cake layers in shape.
By using these even baking tips and cake baking tips, you’ll get stunning, evenly baked heart-shaped cakes. They’re perfect for decorating and serving at your event.
“Baking is like washing dishes, you just have to get in there and do it. It’s messy and it’s tedious, but it’s fun and kind of fascinating because it’s a science.”
– Alton Brown
Cooling and Leveling Your Cake Layers
Proper cooling techniques are key for a perfect heart shaped cake. After baking, let your cake layers cool completely on a wire rack. For quicker cooling, try the fridge or freezer for a bit. Once cool, use a serrated knife to level the tops for even layers.
Proper Cooling Methods
Proper cooling is the first step to a great heart shaped cake. Here are some tips:
- Cool the cakes completely on a wire rack. This lets air circulate and prevents moisture from forming.
- For faster cooling, put the cake layers in the fridge or freezer for 10-15 minutes. But don’t over-chill them.
- Make sure the cakes are cool before cutting or frosting. Cutting a warm cake can make it crumble.
How to Level Cake Layers
Leveling your cake layers is important for a pro-looking heart shaped cake. Here’s how:
- Use a serrated knife to gently trim the tops of the cake layers. Remove any domed or uneven parts.
- Hold the knife parallel to the cake and rotate it as you cut. This will give you a flat, even surface.
- Don’t cut off too much cake. This can affect the height and look of your heart shaped cake.
By using these cake cooling techniques and leveling cake layers right, you’ll have a beautiful heart-shaped cake ready for decorating.
Making and Coloring the Frosting
Making the perfect frosting is crucial for a stunning heart shaped cake. Begin with a luscious homemade buttercream. Use butter, powdered sugar, heavy cream, and vanilla extract. Whip it until it’s light and fluffy, perfect for your cake.
Add food coloring for vibrant color. Choose from soft pink to bold red. Fold in the coloring gently until you get your colored frosting shade.
For a chocolatey twist, add cocoa powder to your buttercream. It adds a rich, decadent flavor. Adjust the consistency with cream or powdered sugar for a smooth texture.
“The key to a visually stunning heart-shaped cake lies in the frosting – the perfect balance of creamy, flavorful buttercream is the foundation for a truly memorable dessert.”
Now, your frosting is ready. You’re close to assembling your heart-shaped masterpiece. Prepare to impress your guests with a cake that’s delicious and visually stunning.
Assembly and Crumb Coating Techniques
Making a heart-shaped cake means putting together the layers carefully. Start by placing the first cake layer on your serving plate or cake board. Use an offset spatula to spread frosting between each layer, making sure they’re stacked evenly.
Building Stable Layers
For a sturdy cake, chill the layers in the fridge for 30 minutes or the freezer for 15 minutes. This makes the cake firm and less likely to crumble when you add the crumb coat.
Creating a Perfect Crumb Coat
After chilling, use an offset spatula or cake scraper to put a thin layer of frosting on the cake. This crumb coat catches any loose crumbs, making the base smooth for the final frosting layer. Chill the cake again for 20 minutes to set the crumb coat before adding the final layer.
FAQ
What equipment is needed to make a heart-shaped cake?
You’ll need a 9-inch square baking pan and a 9-inch round baking pan. Also, mixing bowls and an electric mixer are essential. No special heart-shaped pans are required.
What are the key ingredients for the heart-shaped cake?
The main ingredients are flour, sugar, cocoa powder, butter, eggs, and buttermilk. These make a moist and flavorful chocolate cake. You can use vanilla buttercream, chocolate ganache, or cream cheese frosting for the frosting.
How do you assemble the heart shape using the round and square pans?
Bake the cakes in the square and round pans. Cool them, then cut the round cake in half. Place the square cake like a diamond and put the round cake halves on top to form the heart shape.
What are some tips for getting even baking results?
Make sure the oven is at the right temperature (350°F/175°C). Grease and flour the pans before adding the batter. Bake for 28-30 minutes or until a toothpick comes out clean.
How should the cake layers be cooled and leveled?
Cool the cakes in the pans for 10 minutes, then transfer them to a wire rack. For faster cooling, put them in the refrigerator or freezer. Use a serrated knife to level the tops if needed. Make sure they are fully cooled before cutting or frosting.
How do you prepare and color the frosting?
To make vanilla buttercream, mix butter, powdered sugar, heavy cream, and vanilla extract. Mix until light and fluffy. Add food coloring if you want. For chocolate frosting, add cocoa powder. Adjust the consistency with cream or powdered sugar as needed.
What techniques are used to assemble and crumb coat the heart-shaped cake?
Place the first cake layer on a serving plate, then add frosting between the layers. Apply a thin crumb coat to the entire cake and chill it for 20 minutes. Add the final layer of frosting, smoothing it with an offset spatula or cake scraper. Use a piping bag to create decorative borders and designs.

